 English
  Español
  Français
Tumbling media is a consumable. But that doesn’t mean you should throw it away early.
With a controlled inspection and recycling workflow, many shops can extend media life, reduce waste, and maintain consistent finishing quality—without increasing cycle time or rework.
This guide explains how to reuse and recycle tumbling media safely, what to check before reusing it, and when media should be retired.
Can Tumbling Media Be Reused?
Yes—most tumbling media can be reused many times, but only if you control:
media wear and size distribution
contamination (metal fines, oil, oxidation, abrasive residue)
shape breakdown (chipping, rounding, cracking)
finish results (cycle time and consistency)
Reusing media is not just about cost. It’s also about process stability. The best finishing departments treat media like a “tool” that must be monitored, not a random consumable.
Why Media Wears Out (And What Changes Over Time)
Media performance changes due to:
1) Size reduction
Media gets smaller as it wears. That can be good (better reach) or dangerous (lodging risk in holes/slots).
2) Cutting power changes
Ceramic or abrasive plastic media becomes less aggressive as edges round off.
3) Contamination build-up
Metal fines, oils, and residue reduce cutting efficiency, stain parts, or increase scratch risk.
4) Shape damage
Chipped media can create random scratches or embed residue into the part surface.
When Reusing Tumbling Media Makes Sense
Reusing media is usually safe if:
your parts are consistent (same material and geometry)
you’re using a stable compound and cleaning routine
you monitor media size and contamination
you can separate and remove broken pieces
When You Should NOT Reuse Media
Stop reusing and retire the batch if you see:
frequent scratches with no other process change
media lodging suddenly increases (media size has shifted too small)
excessive broken/chipped pieces
staining caused by contamination that cleaning cannot remove
cycle time increases noticeably to reach the same finish
unpleasant odor / heavy sludge (often signals poor cleaning and contamination)
If reusing media increases rework, it’s no longer “saving money.”
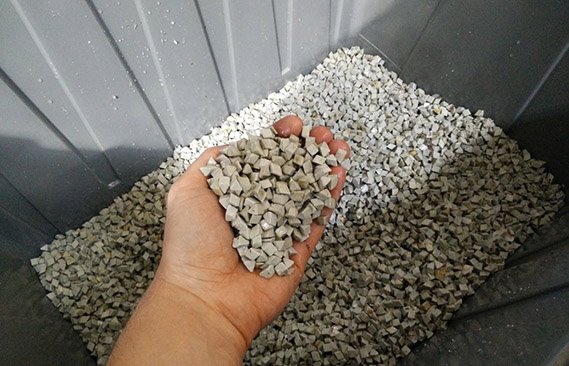 Recycling and disposing of tumbling media
A Simple Media Inspection Checklist (Before You Reuse)
Use this checklist every time you recycle a batch:
1) Visual check
Any chipped pieces?
Any sharp broken edges?
Any abnormal discoloration?
2) Size distribution check
Has the media become significantly smaller than your original baseline?
Is there too much “fine” media mixed in?
3) Contamination check
Excess metal fines?
Oily residue?
Rust risk (for steel media)?
4) Process performance check
Is your cycle time stable?
Is finish quality stable?
Is separation time stable?
Practical Workflow: Reuse & Recycling Process (Step-by-Step)
Step 1 — Separate parts and media
Use a proper separator screen/mesh size so you don’t lose usable media.
Step 2 — Screen out broken media and fines
This is the most important recycling action. Broken pieces are scratch generators.
Step 3 — Wash media (and clean the system)
Media recycling should include cleaning:
rinse to remove sludge
use compound/water flushing
clean machine bowl/tub and drain lines
remove accumulated fines from corners
Step 4 — Dry (when needed)
Wet-stored media can grow odor and increase staining risks.
For steel media, drying is critical to prevent rust.
Step 5 — Grade and store properly
Label bins clearly:
media type / shape / size
date of last inspection
application (aluminum / steel / titanium)
machine line used
This prevents accidental cross-contamination.
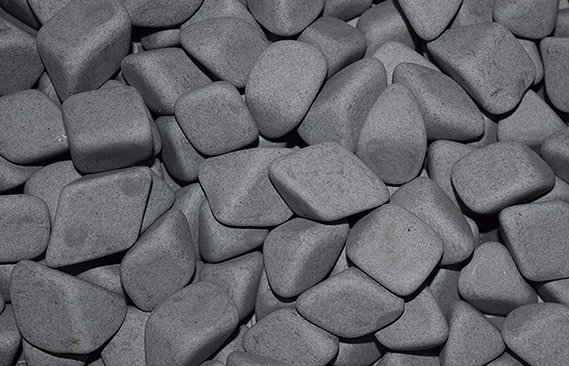 Reusing tumbling media
Recycling vs “Reconditioning”: What’s the Difference?
Reusing = use the media again after inspection and cleaning
Recycling = separating fines, removing broken media, and maintaining size distribution
Reconditioning = restoring usability (cleaning more aggressively, regrading by size, sometimes blending with new media)
A common cost-saving strategy is to:
remove fines and broken pieces
blend a percentage of new media into the batch to restore performance and size distribution
How to Reduce Media Cost Without Quality Loss (Pro Tips)
1) Blend new media into old media
Instead of replacing 100% media at once, add new media gradually.
2) Control compound dosing
Wrong compound dosing increases sludge, reduces cutting efficiency, and shortens media life.
3) Prevent cross-contamination
Don’t mix media used for steel with media used for aluminum if cosmetic finish is required.
4) Keep separation and cleaning consistent
Many “media problems” are actually cleaning problems.
Quick Table: Reuse Considerations by Media Type
| Media Type | Typical Reuse Potential | Main Risk When Reusing | Best Practice |
|---|---|---|---|
| Ceramic | High | size reduction, chipping | screen out fines & broken pieces |
| Plastic | Medium–High | contamination, swelling (rare) | keep cleaning routine stable |
| Steel | Very high | rust, staining | clean + dry + rust control |
| Zirconia | Very high | contamination | rinse well, avoid mixing batches |
FAQ
Q1: How long does tumbling media last?
It depends on media type, part material, and process intensity. Ceramic and plastic wear gradually; steel and zirconia can last much longer if kept clean.
Q2: Can I reuse media for different materials?
Technically yes, but it’s risky for high appearance requirements. Cross-contamination is a common cause of stains and random scratches.
Q3: Should I reuse media that has many chips?
No. Chipped/broken media is one of the biggest causes of unexpected surface scratches.
Q4: What is the easiest way to extend media life?
Consistent screening + cleaning + controlled compound dosing. Many shops lose media life due to sludge and poor maintenance.
Conclusion
Reusing tumbling media can reduce finishing cost—but only if you control:
size distribution
contamination
broken media removal
cleaning and storage discipline
A simple recycling workflow prevents scratches, stabilizes cycle time, and extends media life.
If you want help, send us your media type, part material, and current issues (scratches, staining, lodging). We can recommend a recycling workflow and starter maintenance routine.